Seagull in motion
In the past I have used the migration assistant tool to copy my files from Mac to Mac whenever I would get a new one. After almost 20 years of doing this I wanted to setup my new screaming M2 from scratch.
There are a couple command line tools that help this and I have created a bash script in github to run on the computer. Be sure to customize for your own situation.
Once this script is run on the Mac half the work will be done. The next steps below are for setting up the data.
The script and explanations below should only install M1/M2 compatible apps. Nothing on Intel.
In Dash preferences choose the Sync folder on iCloud Drive/Dash and everything is setup.
Log into Freedom and make sure it is setup name device.
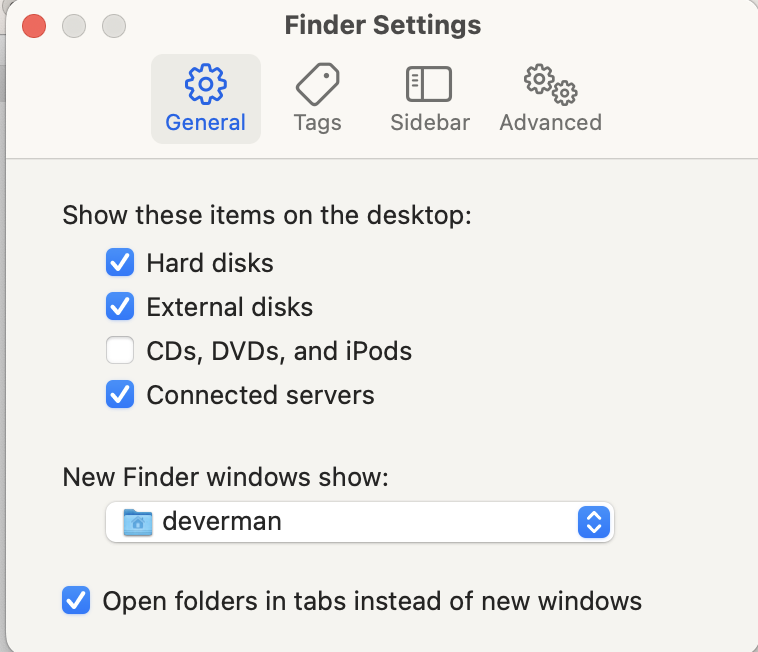
Copy over select Home folder contents
Increase trackpad to max speed.
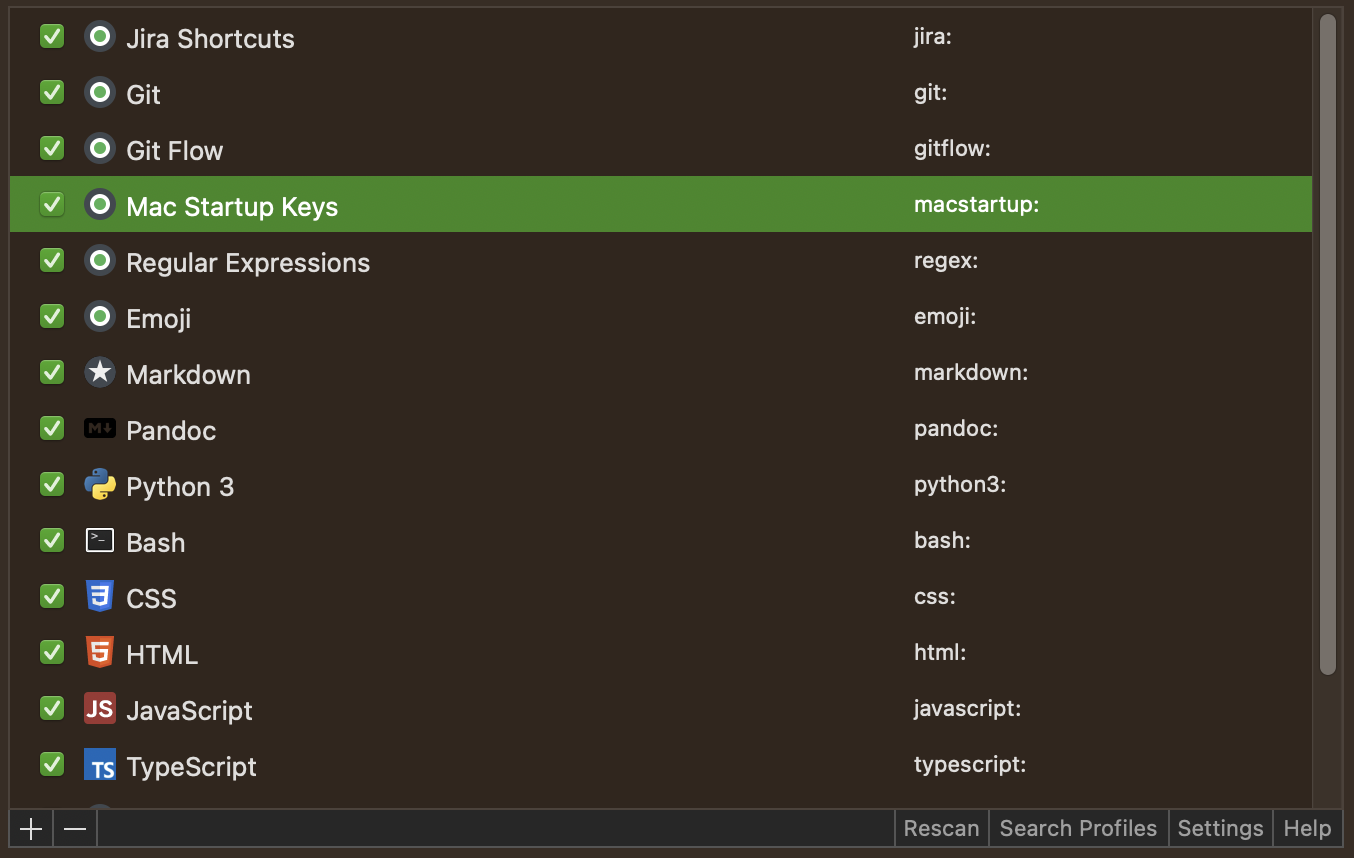
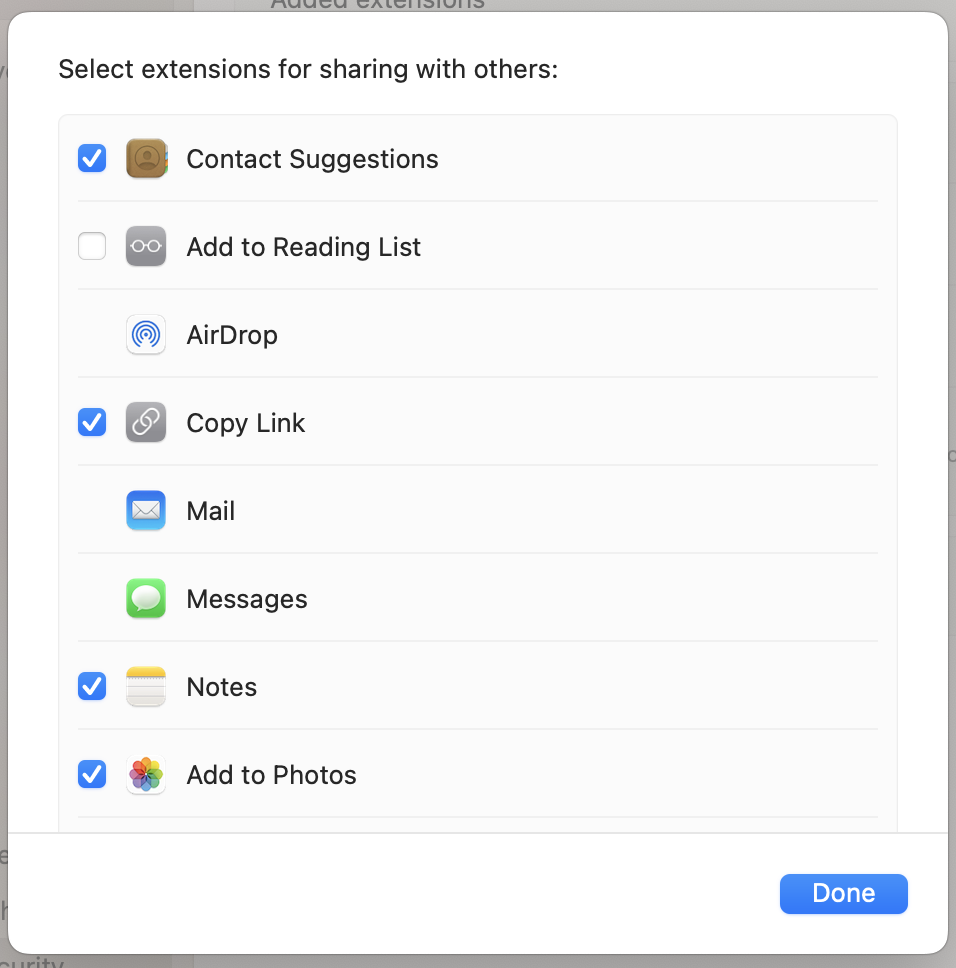
Disable unused sharing utilities and shortcuts
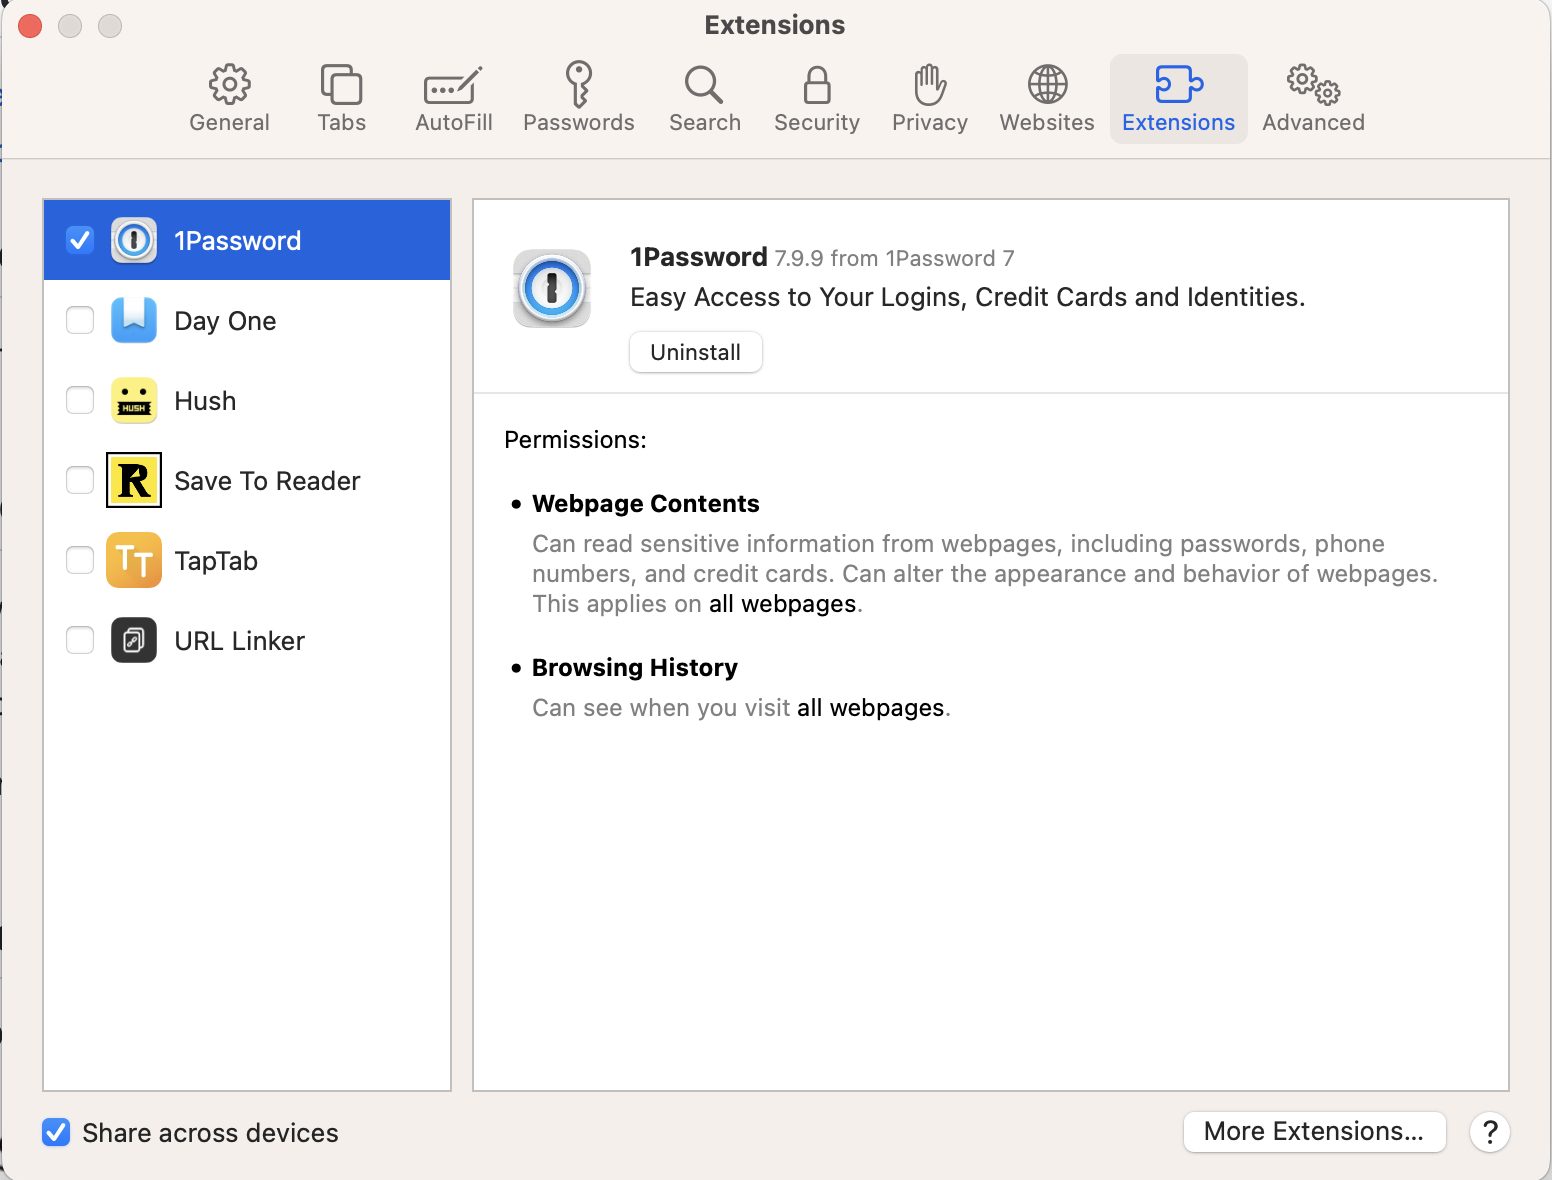
Disable/enable extensions
The storage control panel lets you delete the GarageBand music creation libraries.
Configure notifications including:
Set .gitconfig file to contain your commit information.
`git config --global user.email "[email protected]"`
`git config --global user.name "My Name"`
– Create new GIT ssh key and associate it with account
Generate SSH Key
ssh-keygen -t ed25519 -C "[email protected]"
Setup ssh to reference Keychain.
touch ~/.ssh/config
open ~/.ssh/config
Add the following to the above file:
Host github.com
  AddKeysToAgent yes
  UseKeychain yes
  IdentityFile ~/.ssh/id_ed25519
Add SSH Key to Keychain
eval "$(ssh-agent -s)"
ssh-add --apple-use-keychain ~/.ssh/id_ed25519
gh auth login
gh auth refresh -h github.com -s admin:public_key
gh ssh-key add ~/.ssh/id_ed25519.pub
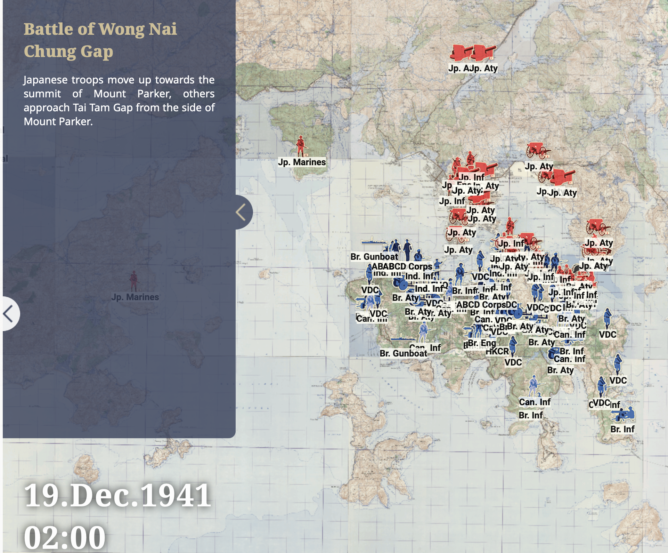
Interactive timeline showing the battle of Hong Kong in 1941. Traces in detail how the Japanese troops took Hong Kong from Hong Kong Baptiste University History Department.
Really grateful to the woman in my Michigan State University dorm that gave me her ticket to see an R.E.M concert and cool that I can find a record of the 1995 concert online.
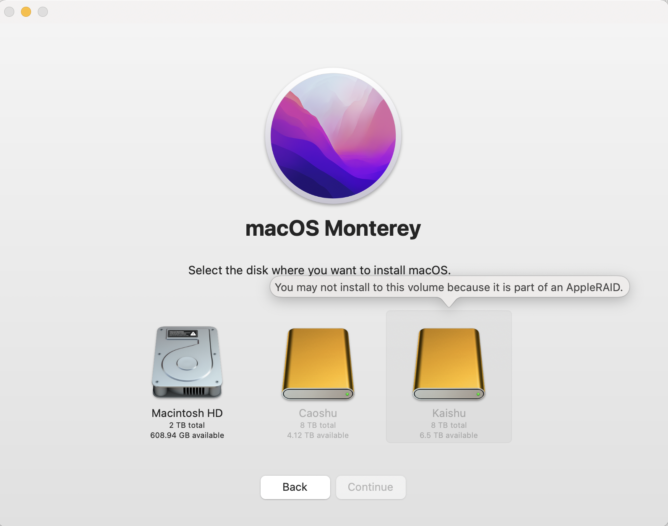
Was trying to research how to create a bootable backup on a USB-C external drive under macOS Monterey. I am using a backup tool called ChronoSync, so I started to research and found a tech note about bootable backups.
No longer can you just make a copy of your main hard drive and make it bootable. You need to first install macOS on an external hard drive, according to Macworld.
The above article recommends that I format the drive as an macOS Extended format. Is that correct? I thought that we were using APFS now, and my internal drive is formatted as an APFS Volume Group.
I couldn’t test this because when I clicked “Show All Disks…” in the installer to see external drives for installation, the installer told me that I could not install on the volume I had chosen because it was part of an AppleRAID.

Looks like I will buy a dedicated backup hard drive and update this. If you have any suggestions on external drives for bootable backups, then tweet me.
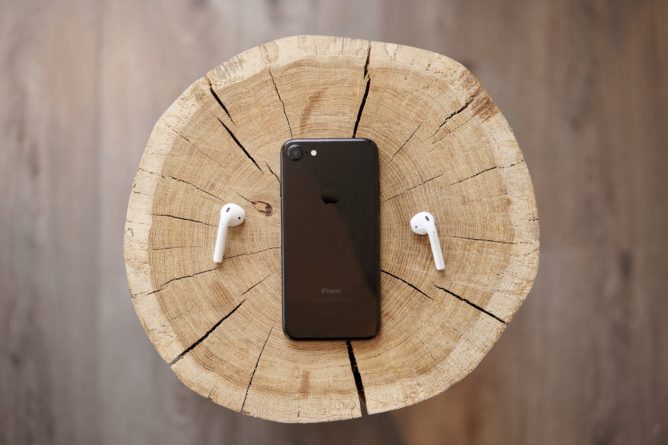
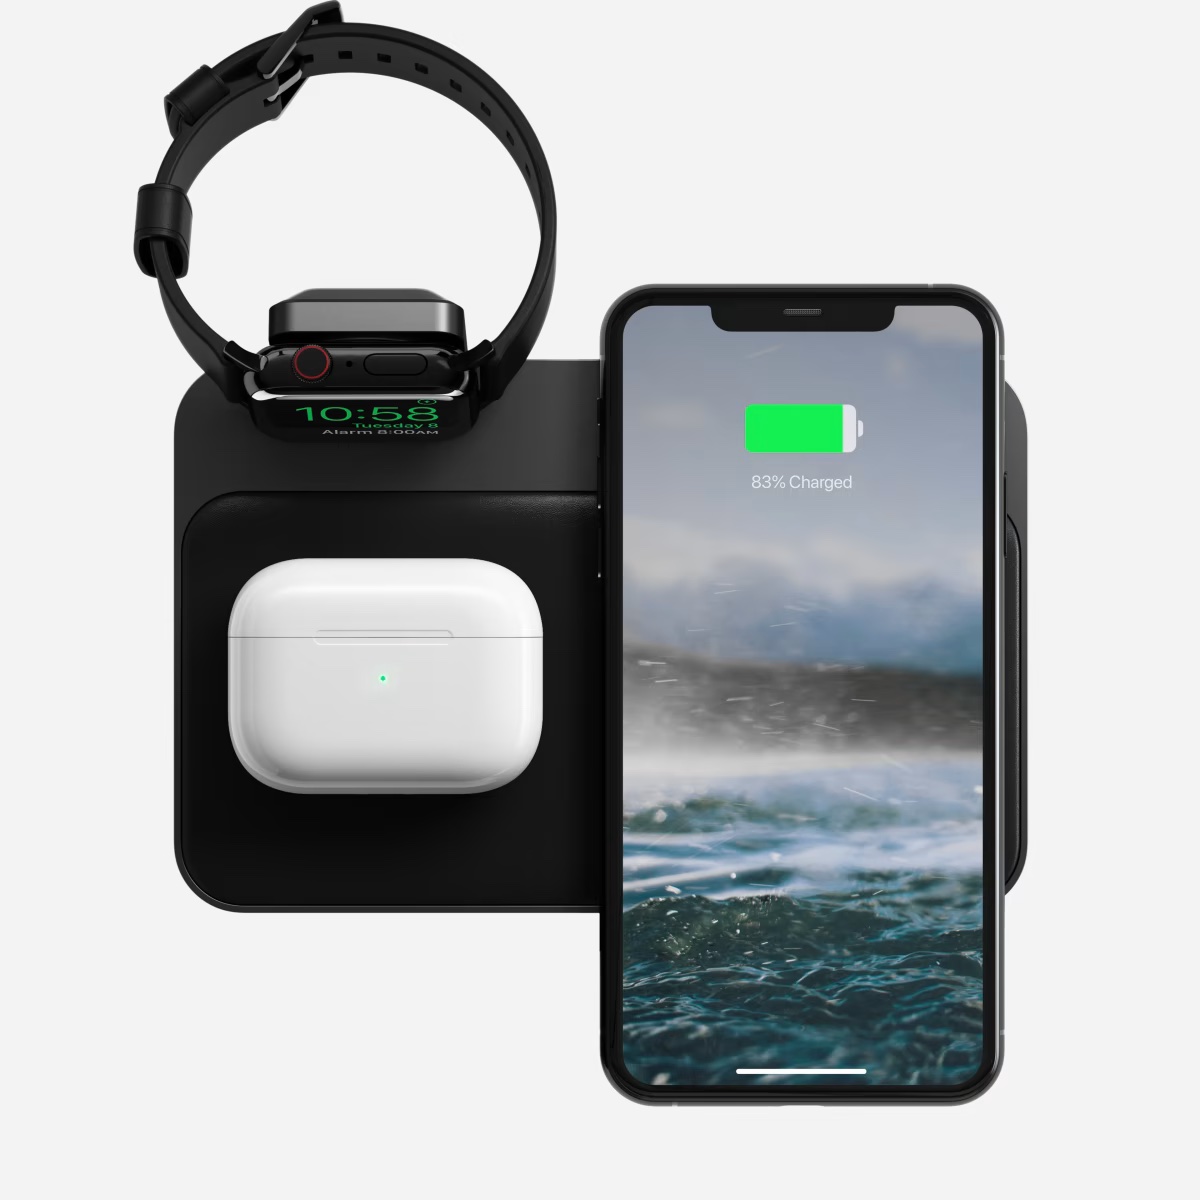
Recently was searching for a wireless charging pad that would support an Apple Watch, AirPods Pro and iPhone. There are some really well-designed stations, most that are quite pricey.
One of the more stylish manufacturers of charging gear is Satechi. However, I balked at ordering this due to the extra shipping costs from the US to Hong Kong.
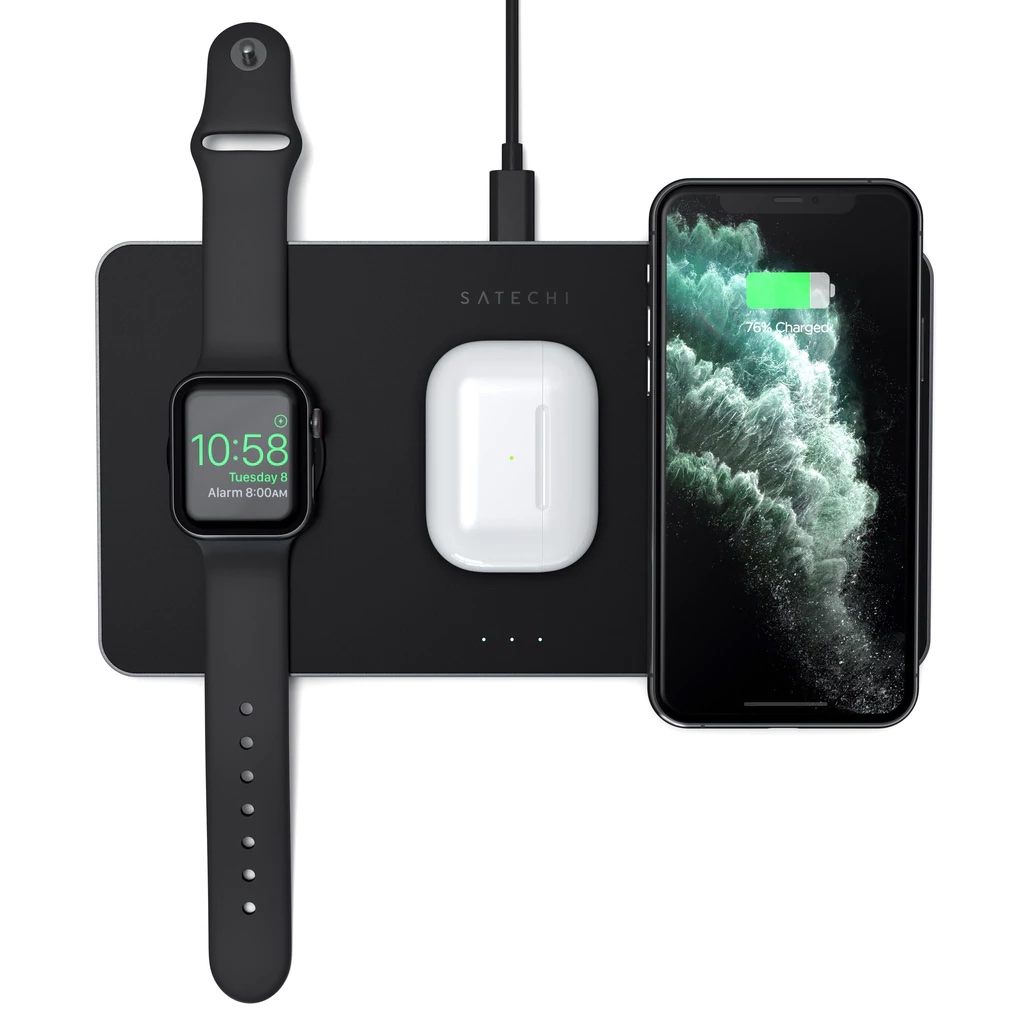
View Trio Wireless Charger With Magnetic Pad
I found a version of this in the Wanchai computer center a while ago and this is the brand I use, but I didn’t see it the last time I walked around the computer center. Overall, it works well, though some days I wake up, and my watch has not been charged.
After trying to find a charging pad that I don’t have to ship from the US to Hong Kong, this Belkin one seems to be the best looking and supports new fast charging methods for newer phones and watches. This is also available in the Apple Store in Hong Kong.
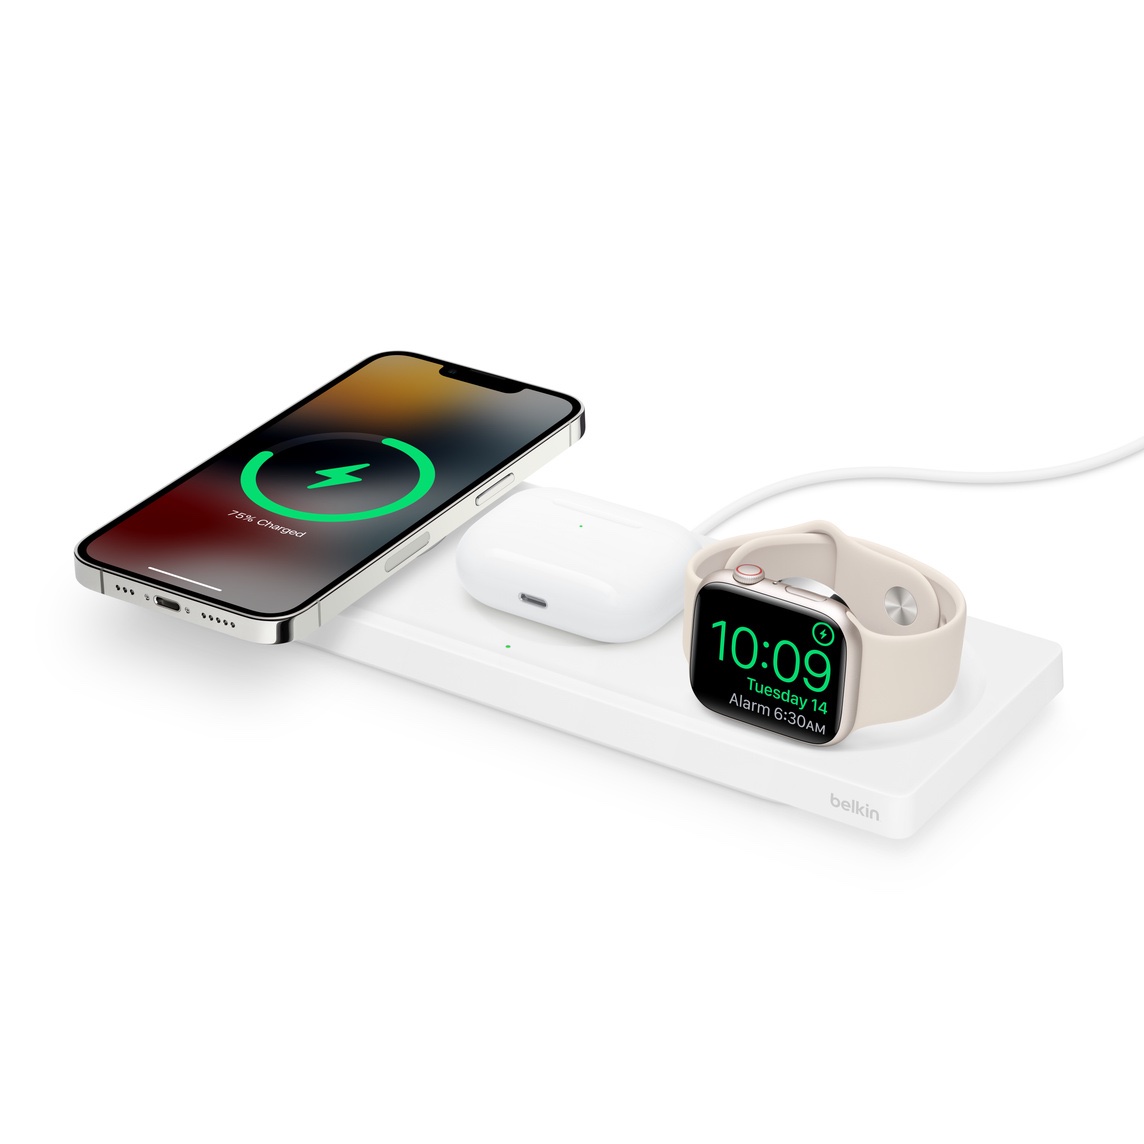
View Belkin BOOST↑CHARGE™ PRO 3-in-1 Wireless Charging Pad with MagSafe
All these are quite high in price, if you see a more reasonable priced version, please tweet bdeverman. Simultaneously, I’m going to be monitoring the Hong Kong Carousell Chargers & Cables category.
I like that the author of the 1000 True Fans article is testing his hypothesis with a his Kickstarter for funding his Vanishing Asia photography book set. I have been following the Vanishing Asia Instagram and there are some great photos.
Thanks to Nathan Hammond you can monitor COVID-19 Vaccine locations open up in Hong Kong. He released a monitoring tool as a GitHub gist. I set it up on my Mac. Had to use
brew install watch
To install the watch command line tool. I also customized the appointments.sh to point to the correct path of the cvc.js file. Then I got the list of vaccine centers in json and customized the appointments.sh to include the ids of my nearest vaccine centers.
Finally I also customized the cvc.js file to filter by a later date. For me it is 2021-04-01 because I was trying to find a jab sooner.
Thanks Nathan for releasing the script.

I started accumulating Substack newsletters in my email box, some going unread.
Just moved all my newsletter subscriptions to RSS Subscriptions in NetNewsWire.
It turns out that each Substack newsletter has a feed url:
https://your.substack.com/feed
If your Substack has a custom domain your feed URL would be:
http://newsletter.deverman.org/feed
– FAQ on Substack
– Original Twitter Thread