In the past I have used the migration assistant tool to copy my files from Mac to Mac whenever I would get a new one. After almost 20 years of doing this I wanted to setup my new screaming M2 from scratch.

Automating App Installs

There are a couple command line tools that help this and I have created a bash script in github to run on the computer. Be sure to customize for your own situation.

Once this script is run on the Mac half the work will be done. The next steps below are for setting up the data.

The script and explanations below should only install M1/M2 compatible apps. Nothing on Intel.

1Password Data Setup

  1. Setup 1Password coud Sync
  2. Enable Local vaults
  3. Setup iCloud vault sync

Keychain

  1. Copy keychain file from original Mac

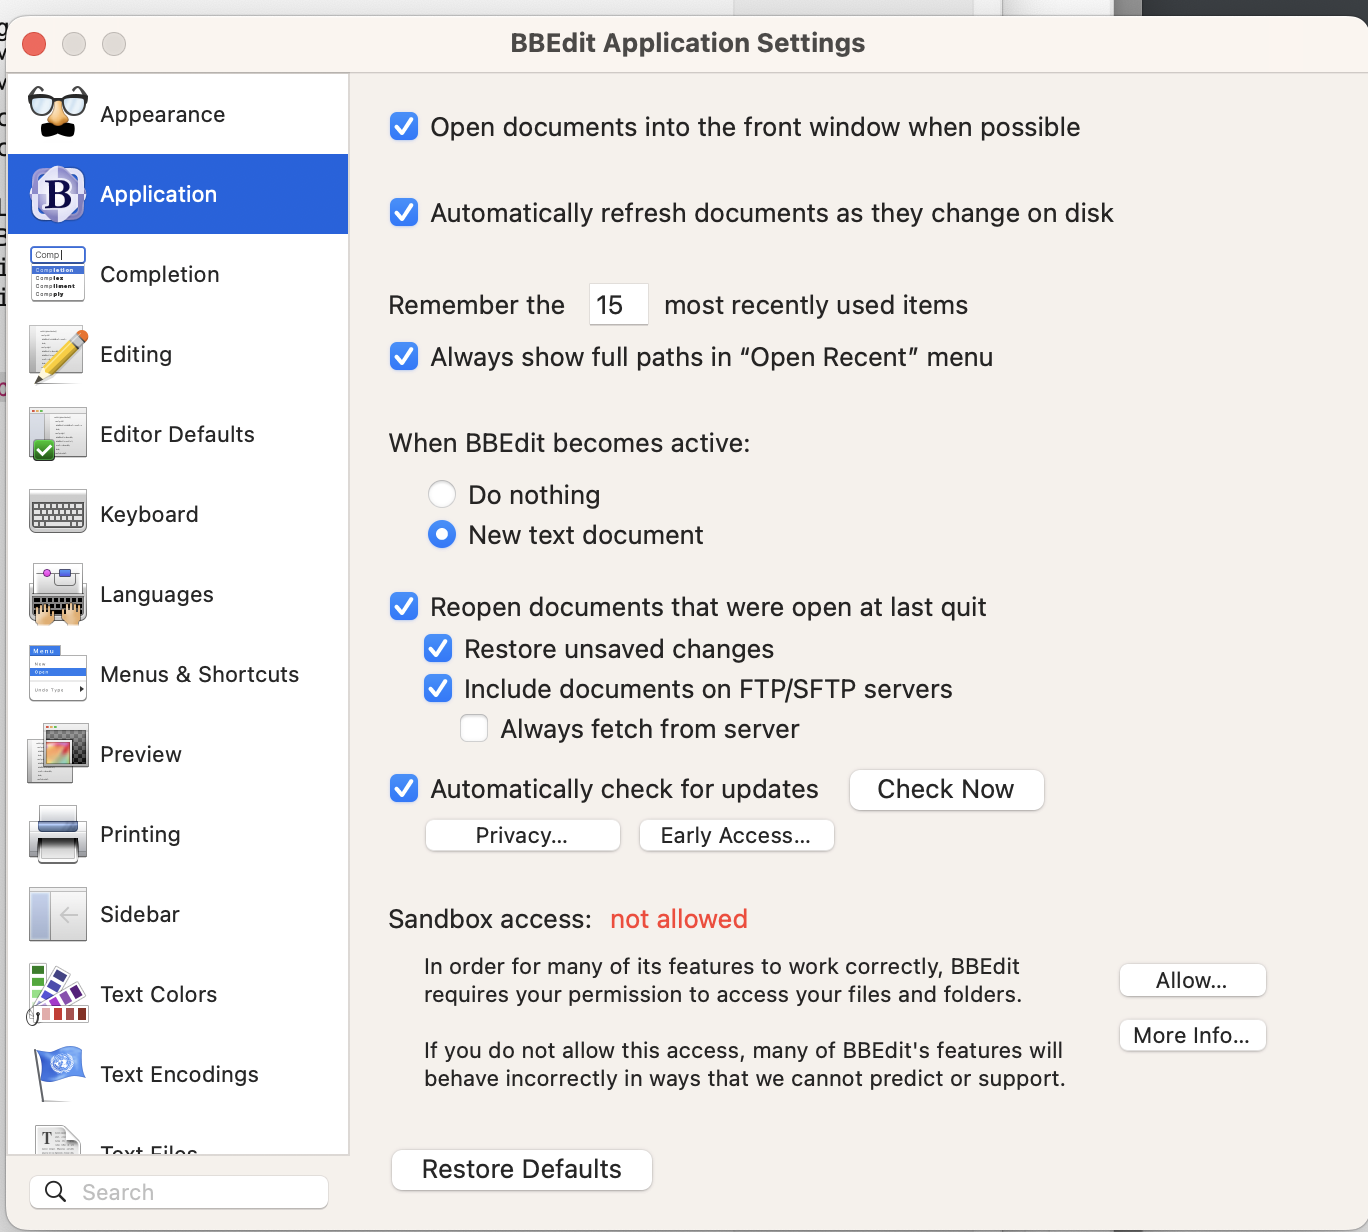
BBEdit

  1. Enable Sandbox Access

Spark

  1. Login to gmail account
  2. Don’t allow notifications

Hazel

  1. Register License from 1password file
  2. Give Full disk access
  3. Add back Hazel folders, sync rules with each folder and enable rules on other computers.
  4. Activate Hazel Notifications
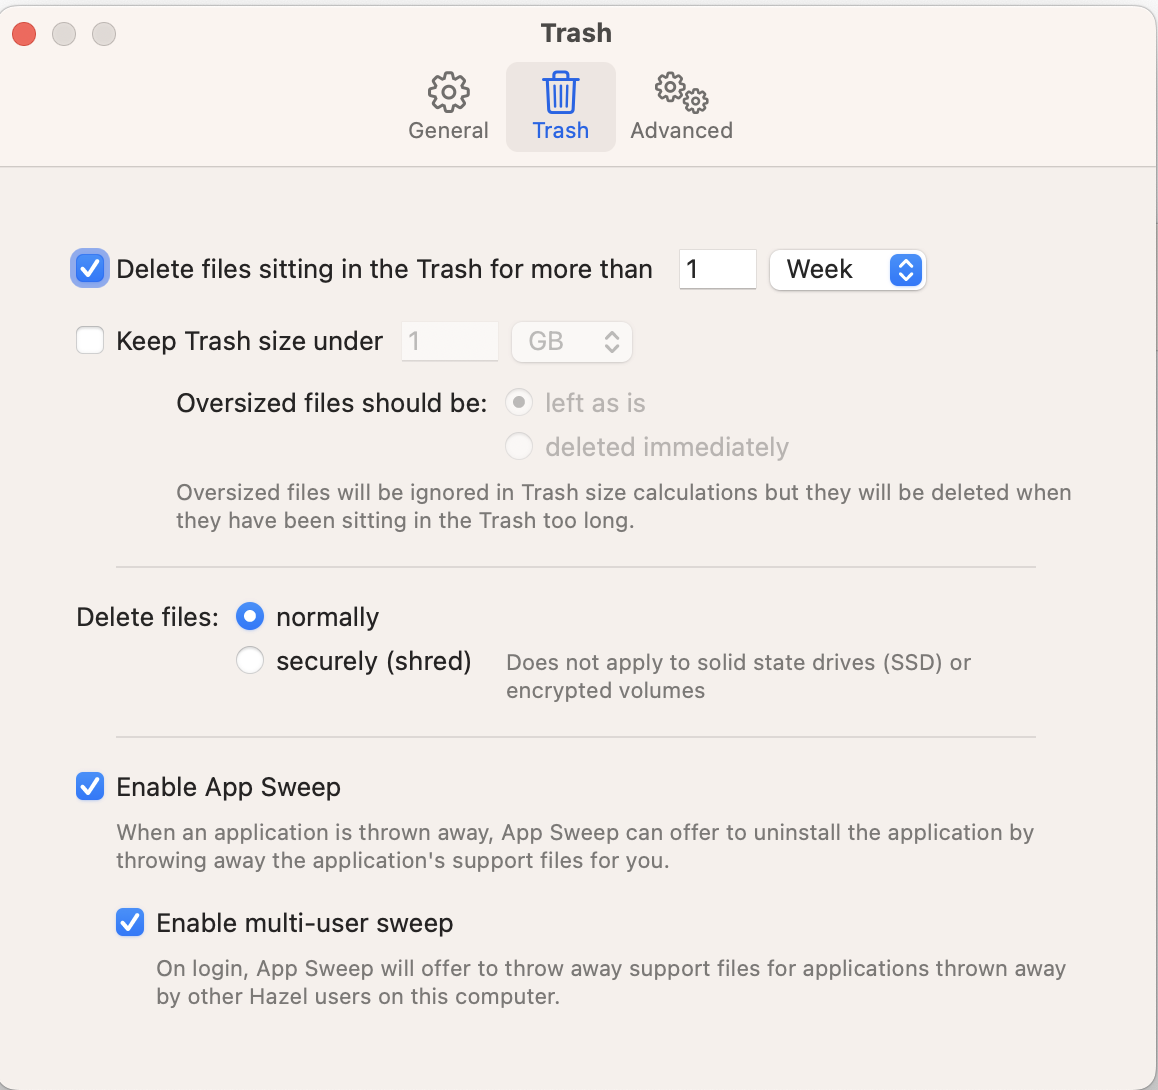
  5. Enable App Sweep and Delete files from trash after 1 week
  6. Turn off Notifications for Files events and trash events
Bartender

  1. Register Bartender
  2. Setup bartender to hid everything but Fantastical and DayOne.

Dash App

In Dash preferences choose the Sync folder on iCloud Drive/Dash and everything is setup.
Timing

  1. Launch and setup
  2. Copy data from old computer

Freedom

Log into Freedom and make sure it is setup name device.

Fantastical

  1. Need to create new app password for iCloud calendar.
  2. Add accounts iCloud, Google, Meetup.com
  3. Set default calendar and default reminder list

Omnifocus

  1. Install Omnifocus Beta from TestFlight
  2. Copy over Omnifocus Archive to new computer
  3. Check that ctr-option-space is global shortcut

WeChat

  1. Copy chat backup to new computer.

Install What’s App Beta

  1. Download M1 WhatsApp beta.

Slack

  1. Sign into Slack Channels.

ChronoSync

  1. Setup backup

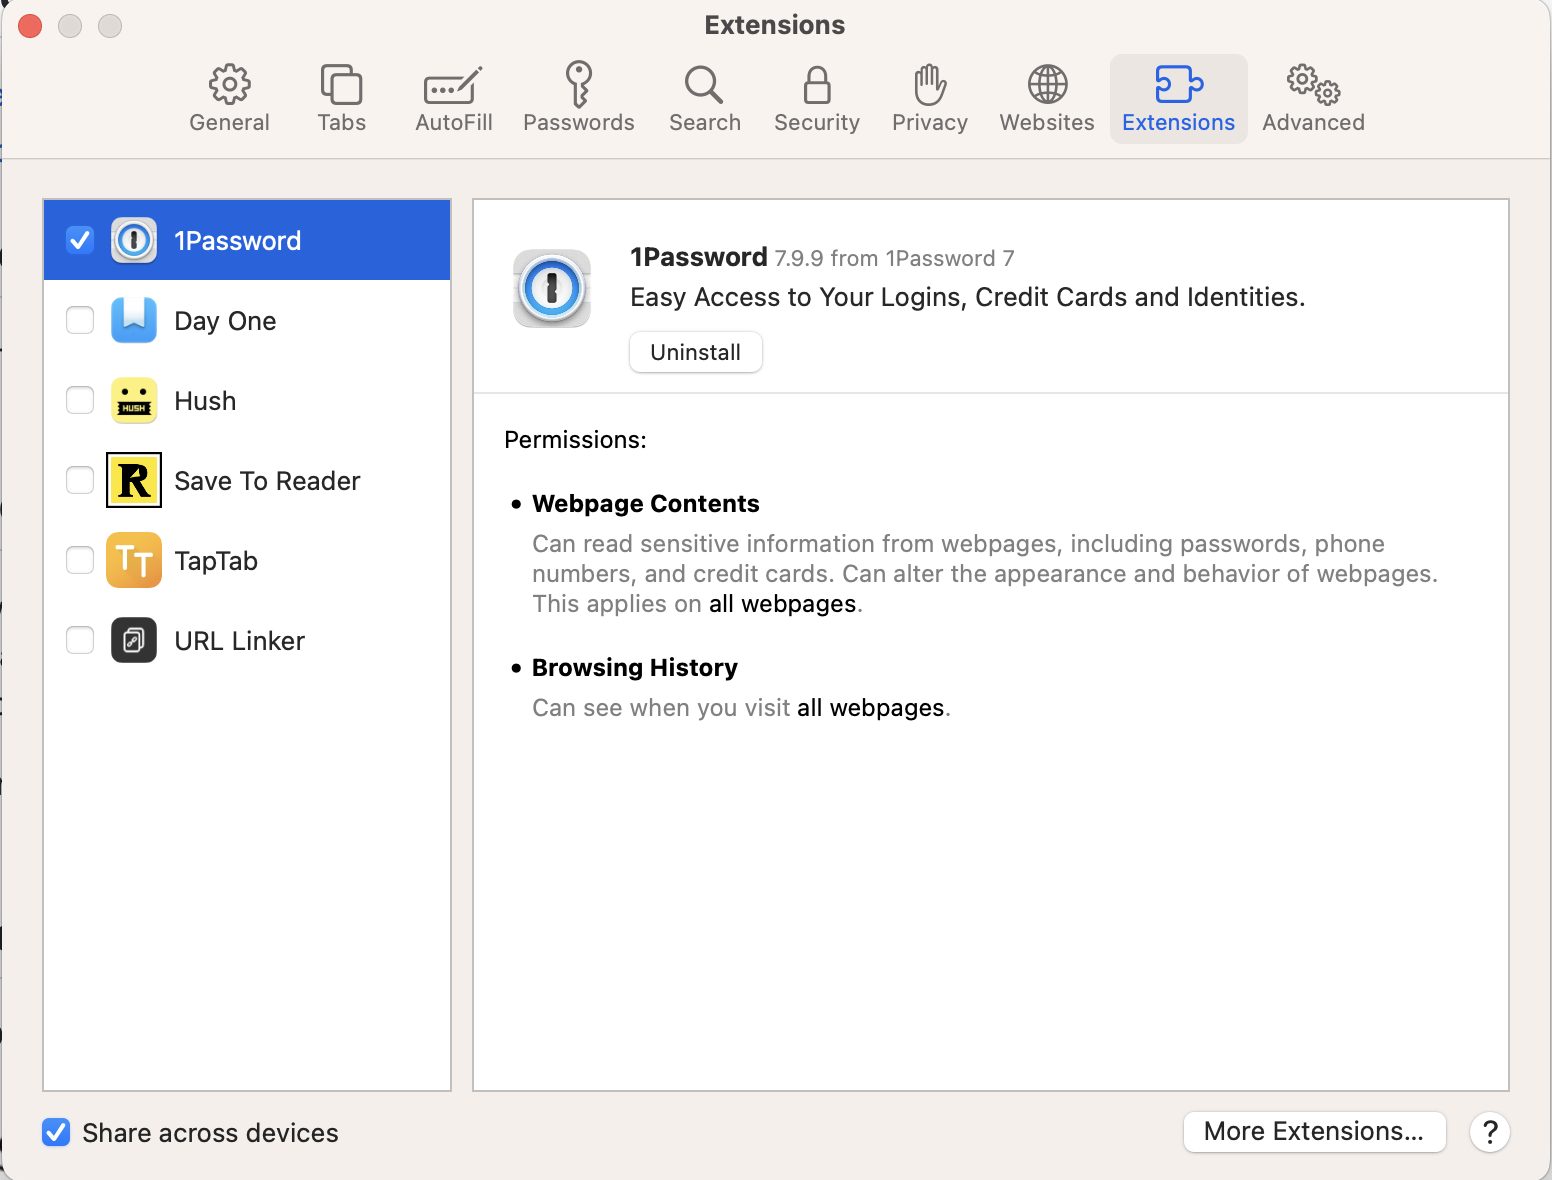
Safari

  1. Enable Extensions in Safari

Time Machine

  1. Setup backup to Synology
  2. Setup backup to external drives

Anki

  1. Sign In to sync

Discord

  1. Login

Xcode

  1. Launch and accept dialog boxes.

Visual Studio Code

  1. Enable Syncing using GitHub account

OBS

  1. Setup for Highest recording
  2. Create source for Elgato
  3. Create Source for Insta360 Link
  4. Create Source for Screen Recording

Apple Music

  1. Check Download Dolby Atmos
  1. Deauthorize previous computer or you might reach the limit
  2. Check older authorizations to free up

Finder

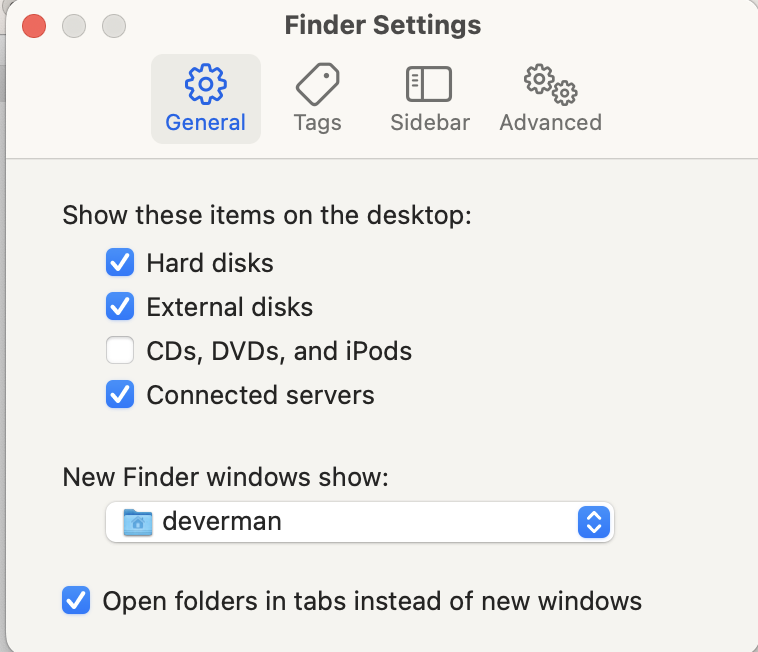
  1. Set finder settings to open to home directory and show external disks
Home Folder

Copy over select Home folder contents

System Settings

Trackpad speed

Increase trackpad to max speed.

Configure Shortcuts

Disable unused sharing utilities and shortcuts

Keyboard

  1. Enable Dictation

Spelling

  1. Enable Show Input Menu in Menu Bar

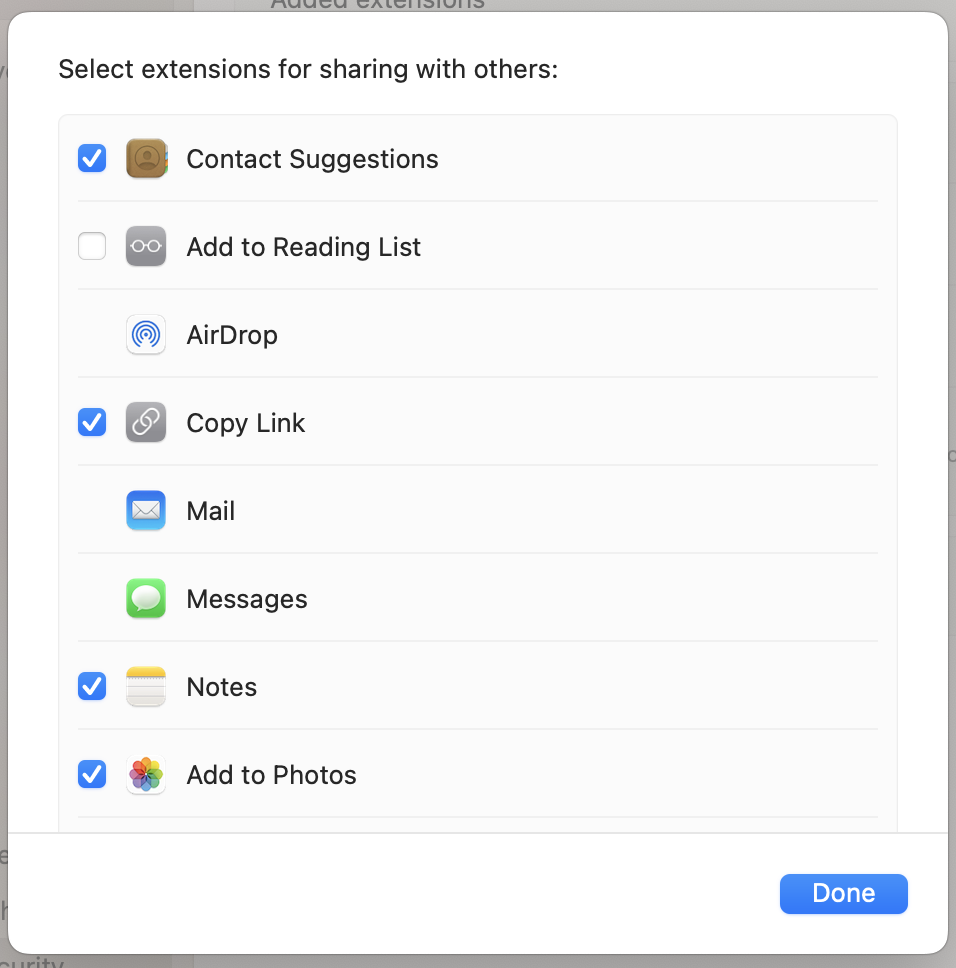
Extensions

Disable/enable extensions
Storage

The storage control panel lets you delete the GarageBand music creation libraries.

Notifications

Configure notifications including:

  1. Turn off notifications from calendar because I use fantastical
  2. Turn off notifications for mail
  3. Turn off sound notifications WhatsApp

Unlock with Apple Watch

  • Turn on Unlock with Apple Watch

Brave Browser

  • Setup Syncing
  • Verify Brave Rewards

Clay

  • Sign into Clay with Apple ID

Git

Set .gitconfig file to contain your commit information.

`git config --global user.email "[email protected]"`
`git config --global user.name "My Name"`

– Create new GIT ssh key and associate it with account

Generate SSH Key

ssh-keygen -t ed25519 -C "[email protected]"

Setup ssh to reference Keychain.

touch ~/.ssh/config
open ~/.ssh/config

Add the following to the above file:

Host github.com
  AddKeysToAgent yes
  UseKeychain yes
  IdentityFile ~/.ssh/id_ed25519

Add SSH Key to Keychain

eval "$(ssh-agent -s)"
ssh-add --apple-use-keychain ~/.ssh/id_ed25519
gh auth login
gh auth refresh -h github.com -s admin:public_key
gh ssh-key add ~/.ssh/id_ed25519.pub

Reference Articles

Now that I use Sidecar to turn my iPad Pro into a second screen I got a bit tired of going to the display preferences to change where my iPad was physically sitting each time. Since I am hot desking I have to put it on the left or the right and that changes almost daily.

Originally, I thought I would fix this would Keyboard Maestro but it can’t change the display layout and it is too hard to automate it to do the preferences.

I found a stack exchange thread with a link to displayplacer. This is a command line tool that can be installed by homebrew which will do the job of display preferences.

After following the instructions to install the tool you can capture your current screen configuration and then run a command to switch.

I created a Keyboard Maestro macro that monitors when the iPad is plugged in and then prompts me to turn on sidecar and choose the side of the desk where the iPad sits.

When I found some old CDs from college I tried to read them in Mac OS X Catalina and was shown an error message. You can read the investigation I went through on the previous linked post.

My friend suggested I try to mount the CDs in a virtual machine so that that started me down a new rabbit hole.

To sum up Apple dropped support for reading HFS in Catalina.

I knew that Parallels could do Mac OS X virtual machines so I thought it would be simple to create.

Turned out to be more complex than I thought and took a lot of google searches so let me try to summarize here.

First Parallels can install but it needs the original installer. Lots of articles tell you to get the older operating installer from your purchase history but if you are on a brand new MacBook Pro 16 inch those old installers won’t show up because your computer doesn’t support them.

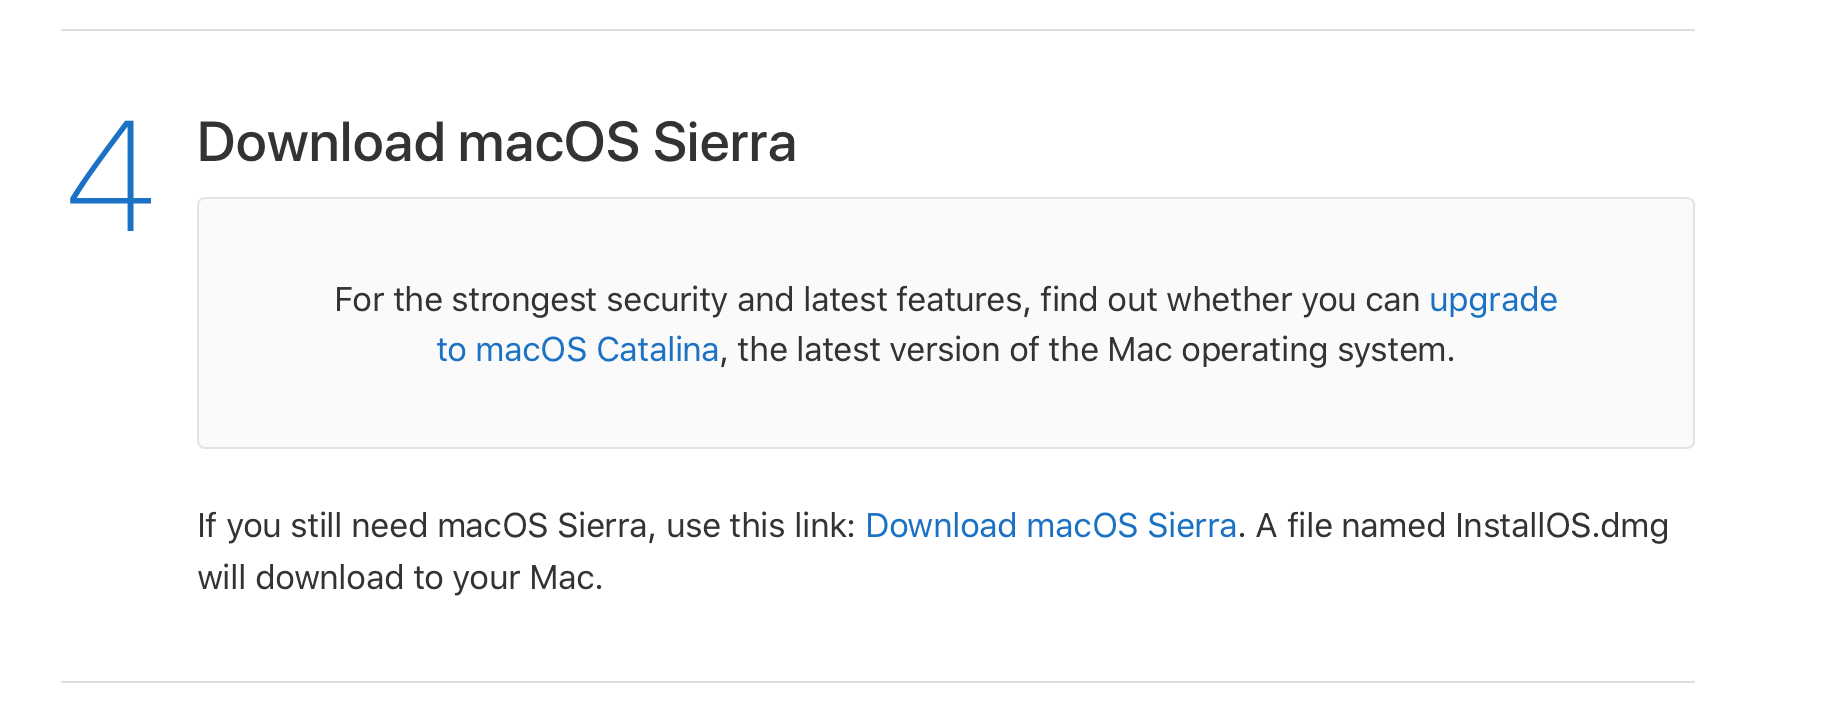
It turns out that Apple has a TechNote for most of the older operating systems. I chose the TechNote for macOS Sierra: How to upgrade to macOS Sierra. You will find a download link for an installer around step 4.

Download the disk image using the download link on this step

Once you have this on your drive there is still more to do.

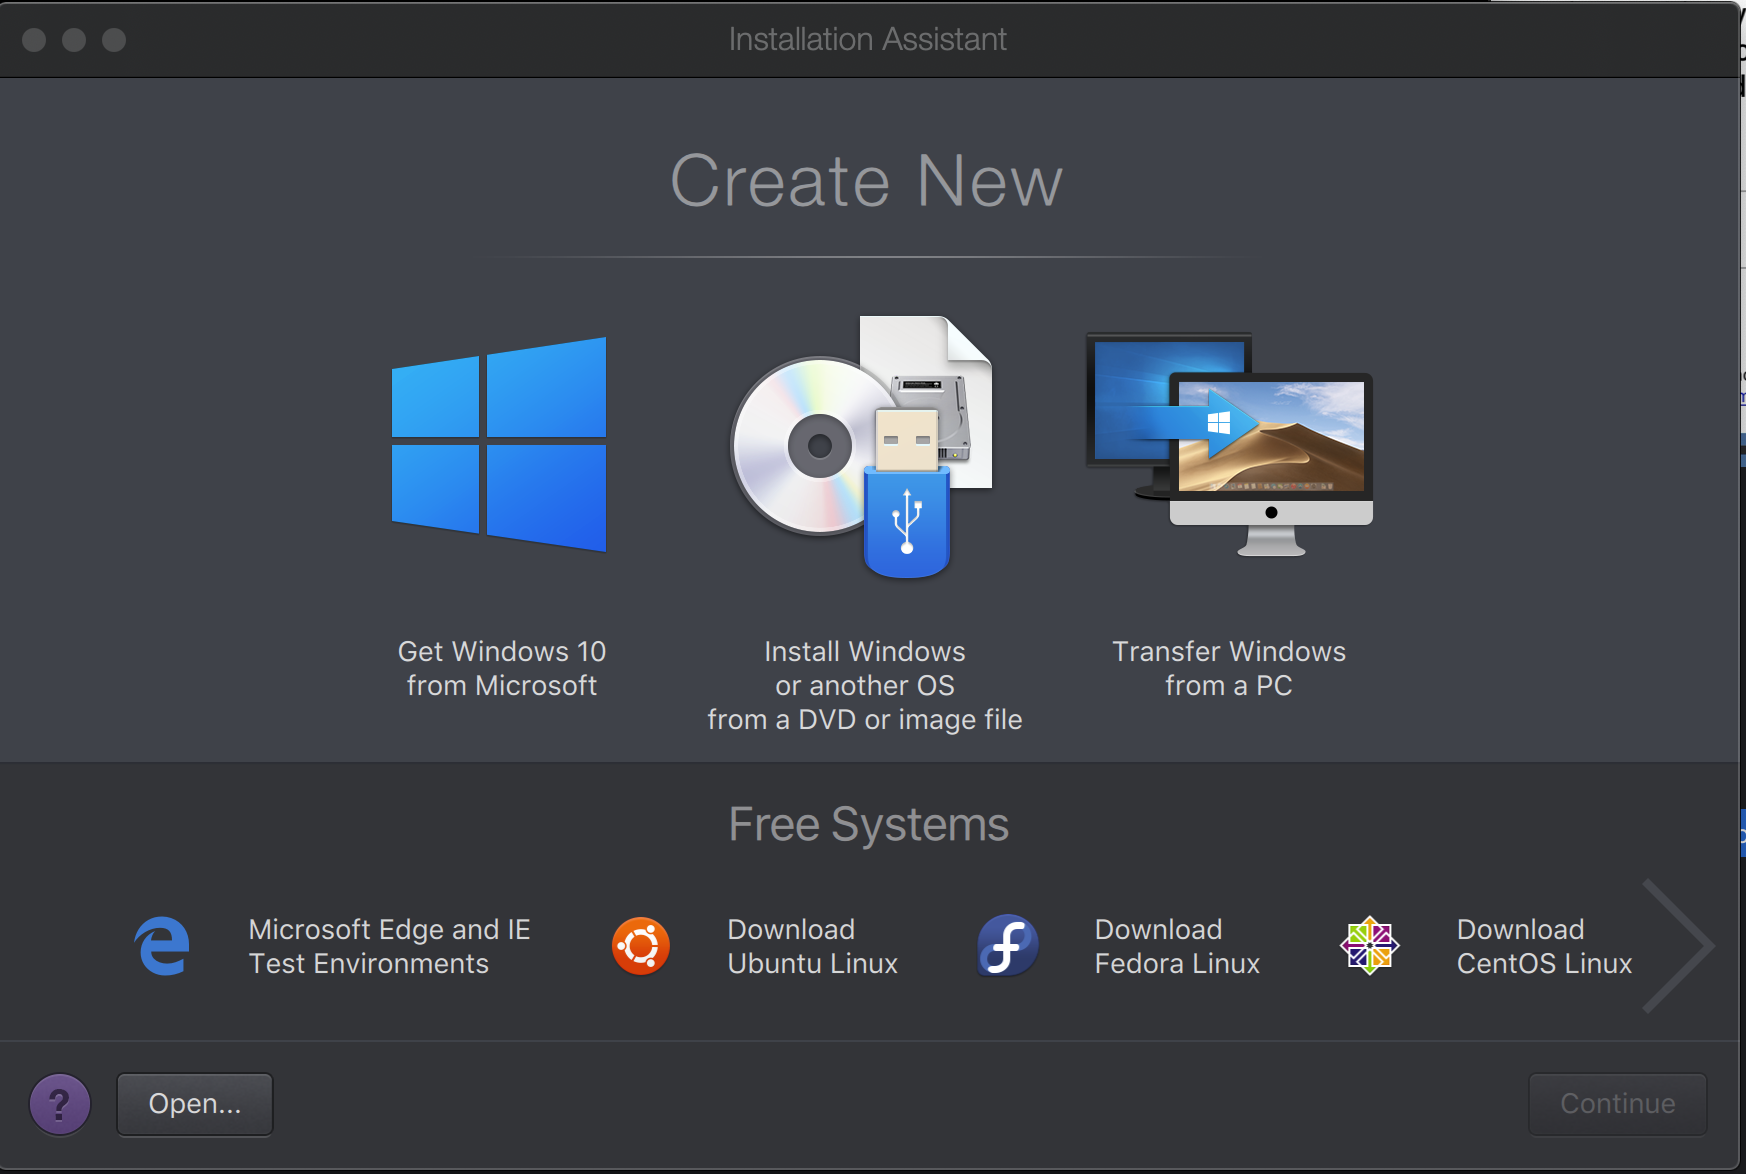
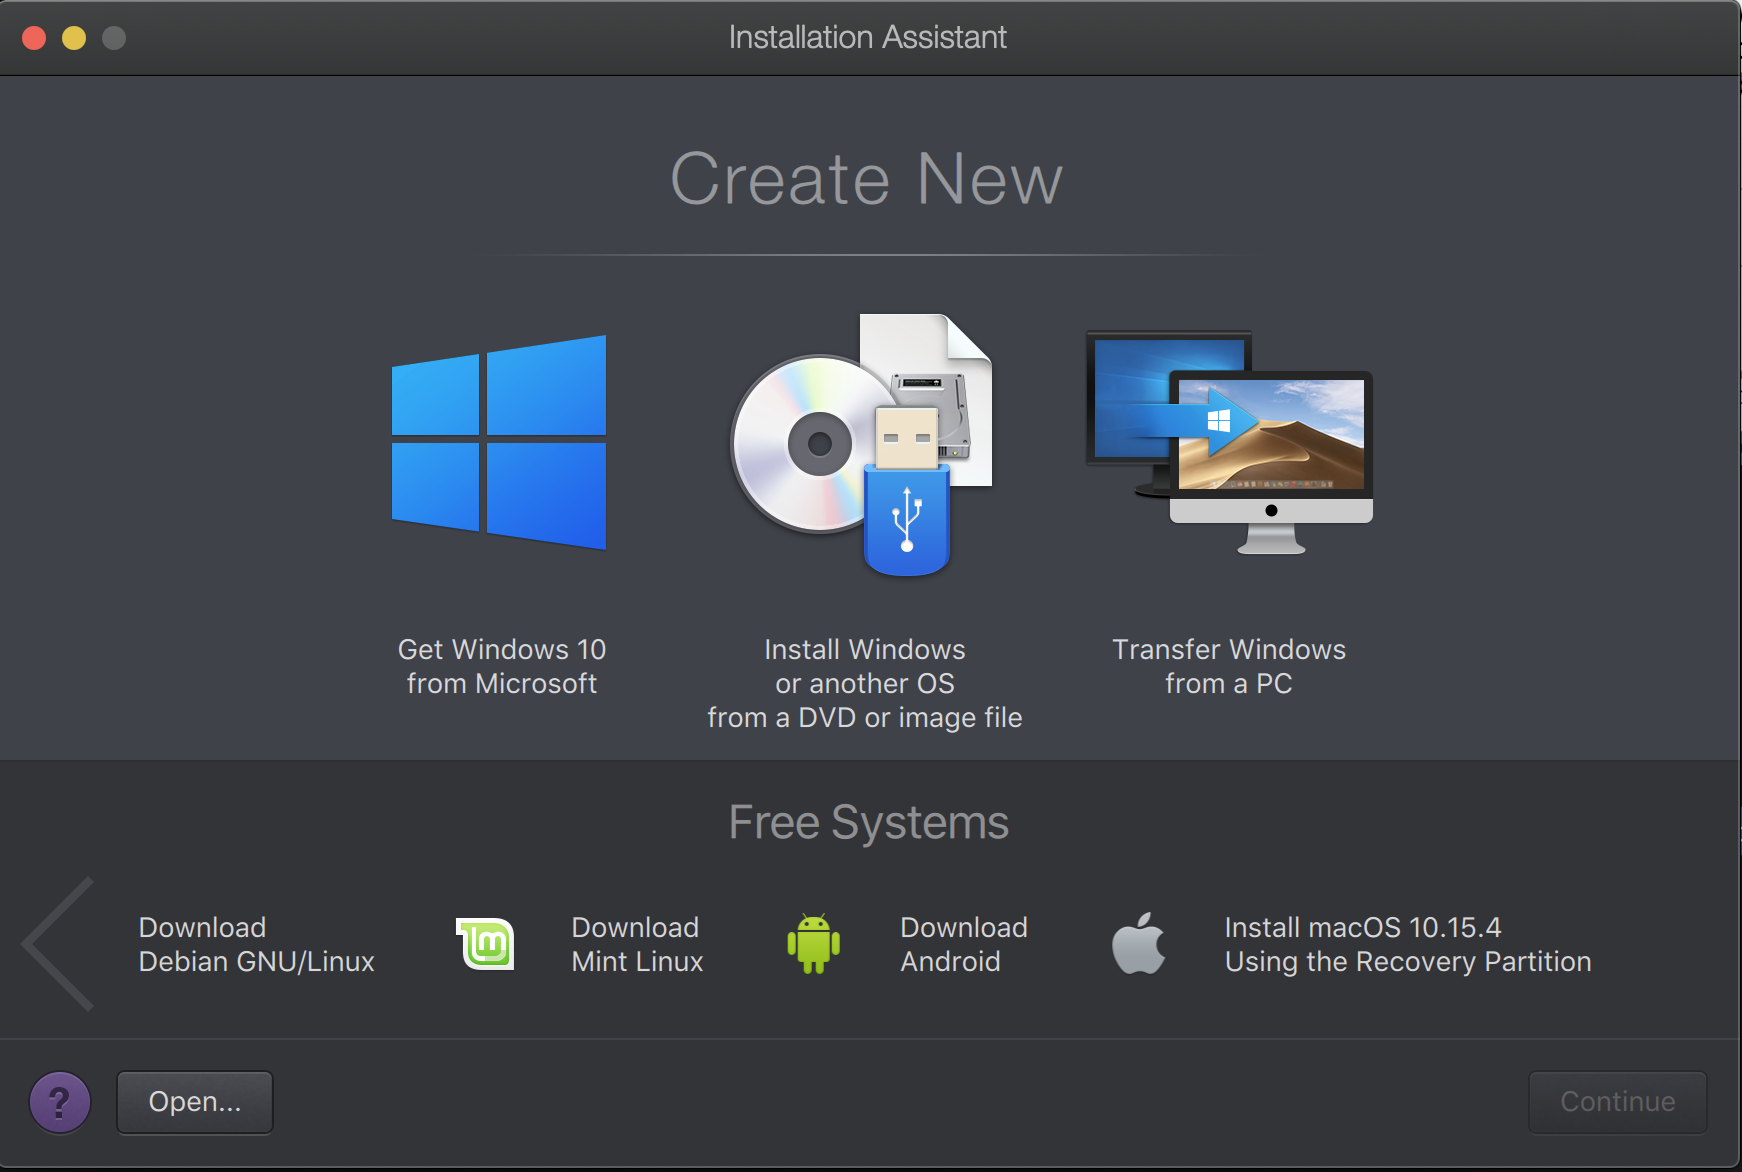
In Parallels go to File > New.. to bring up the installation assistant. Originally I tried to find this disk image from the option “Install Windows or another OS from a DVD or image file” but that didn’t work.

The image file you just downloaded can't be recognized with the middle option.
The image file you just downloaded can’t be recognized with the middle option.

Parallels had a support document on installing Mojave that for some reason I didn’t quite understand so one support email later I had clarity on what needed to be done.

You want to scroll all the way to the right on the below screen:

Start by installing macOS Catalina off a recovery partion.

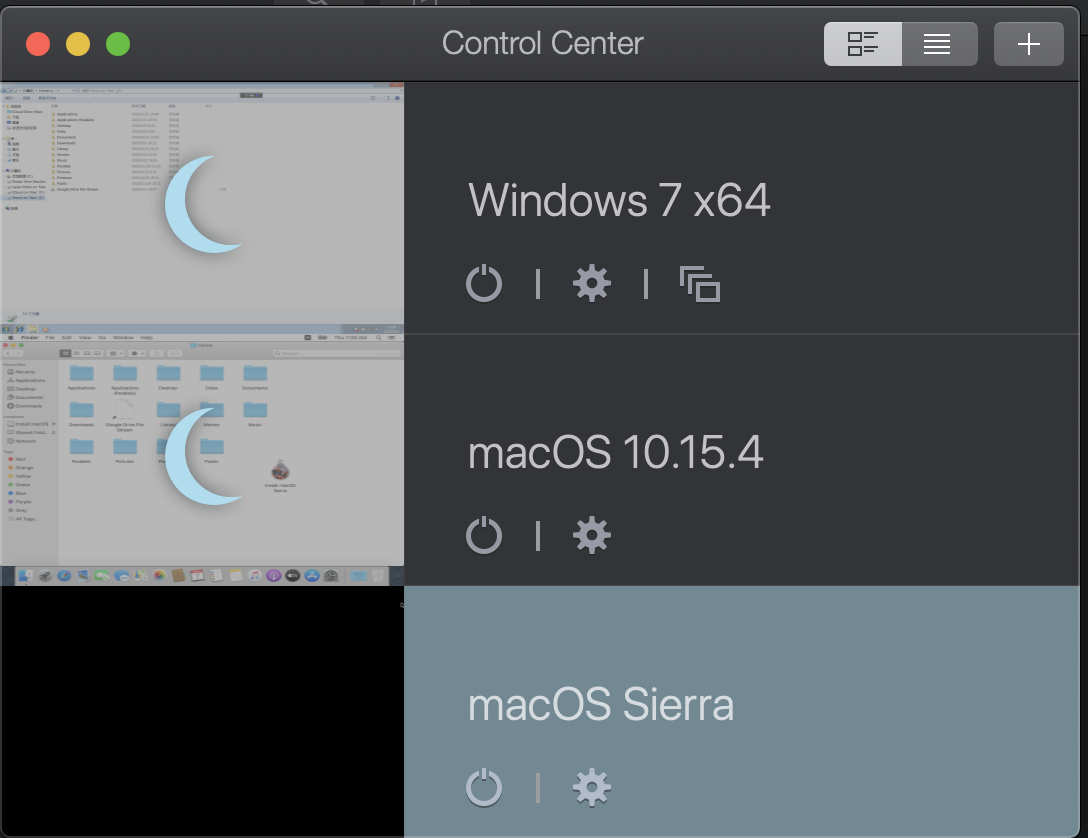
First you need to create a virtual machine based off of Catalina. This is just a temporary virtual machine that allows you to get to the older operating system installer.

Go through the motions of setting up the Catalina operating system.

Once you setup the Catalina virtual machine you have to install the “Parallels Tools” on the Catalina operating system. That takes place from the Actions menu. The VM will be restarted and you can then see shared folders between your real Mac and the VM.

Then it is best to quote directly from the tech support email because this is what gave me the lightbulb moment:

  1. Transfer the installmacosx.dmg to the new virtual machine that is created.
  2. Open installmacosx.dmg and run the .pkg file inside the virtual machine.
  3. Once the installation finishes, the app file will be generated in the virtual machine’s Applications folder.
  4. Move the .app file to the Documents folder of your Mac and run Parallels Desktop Installation Assistant. The installation .app will be recognized automatically and you will be able to proceed with creation of virtual machine.

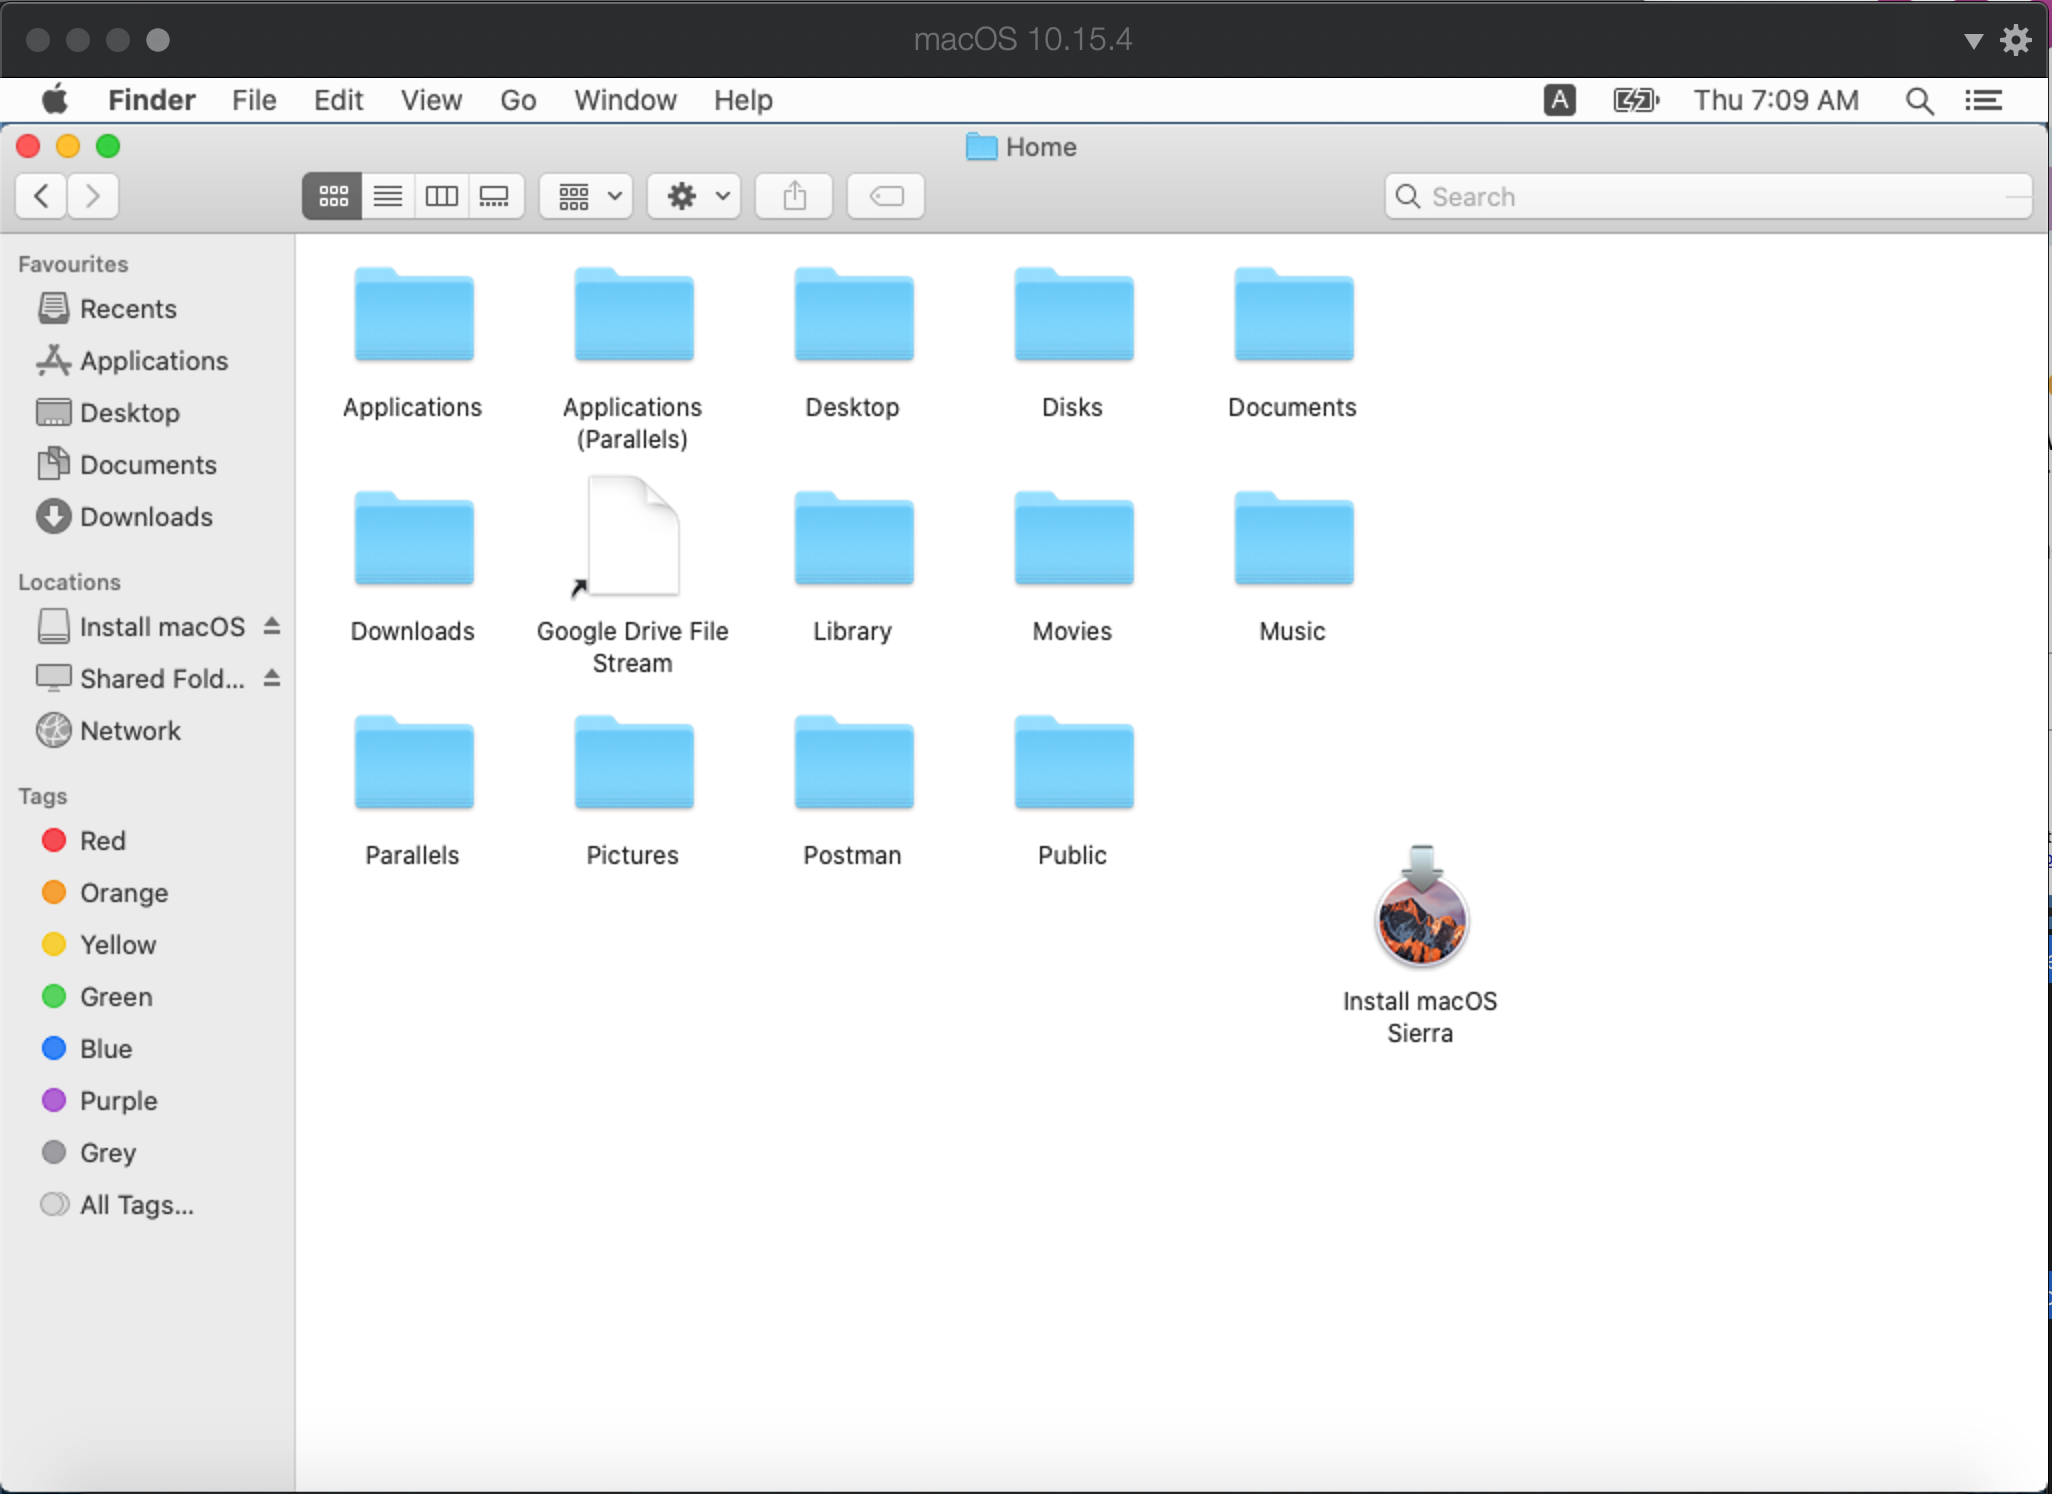
To sum up the above you just want to use the temporary Catalina virtual Machine to run the installer. Once you get the OS installer application you can drag it back to your real Mac using the Parallels shared folders.

Installer extraction completed

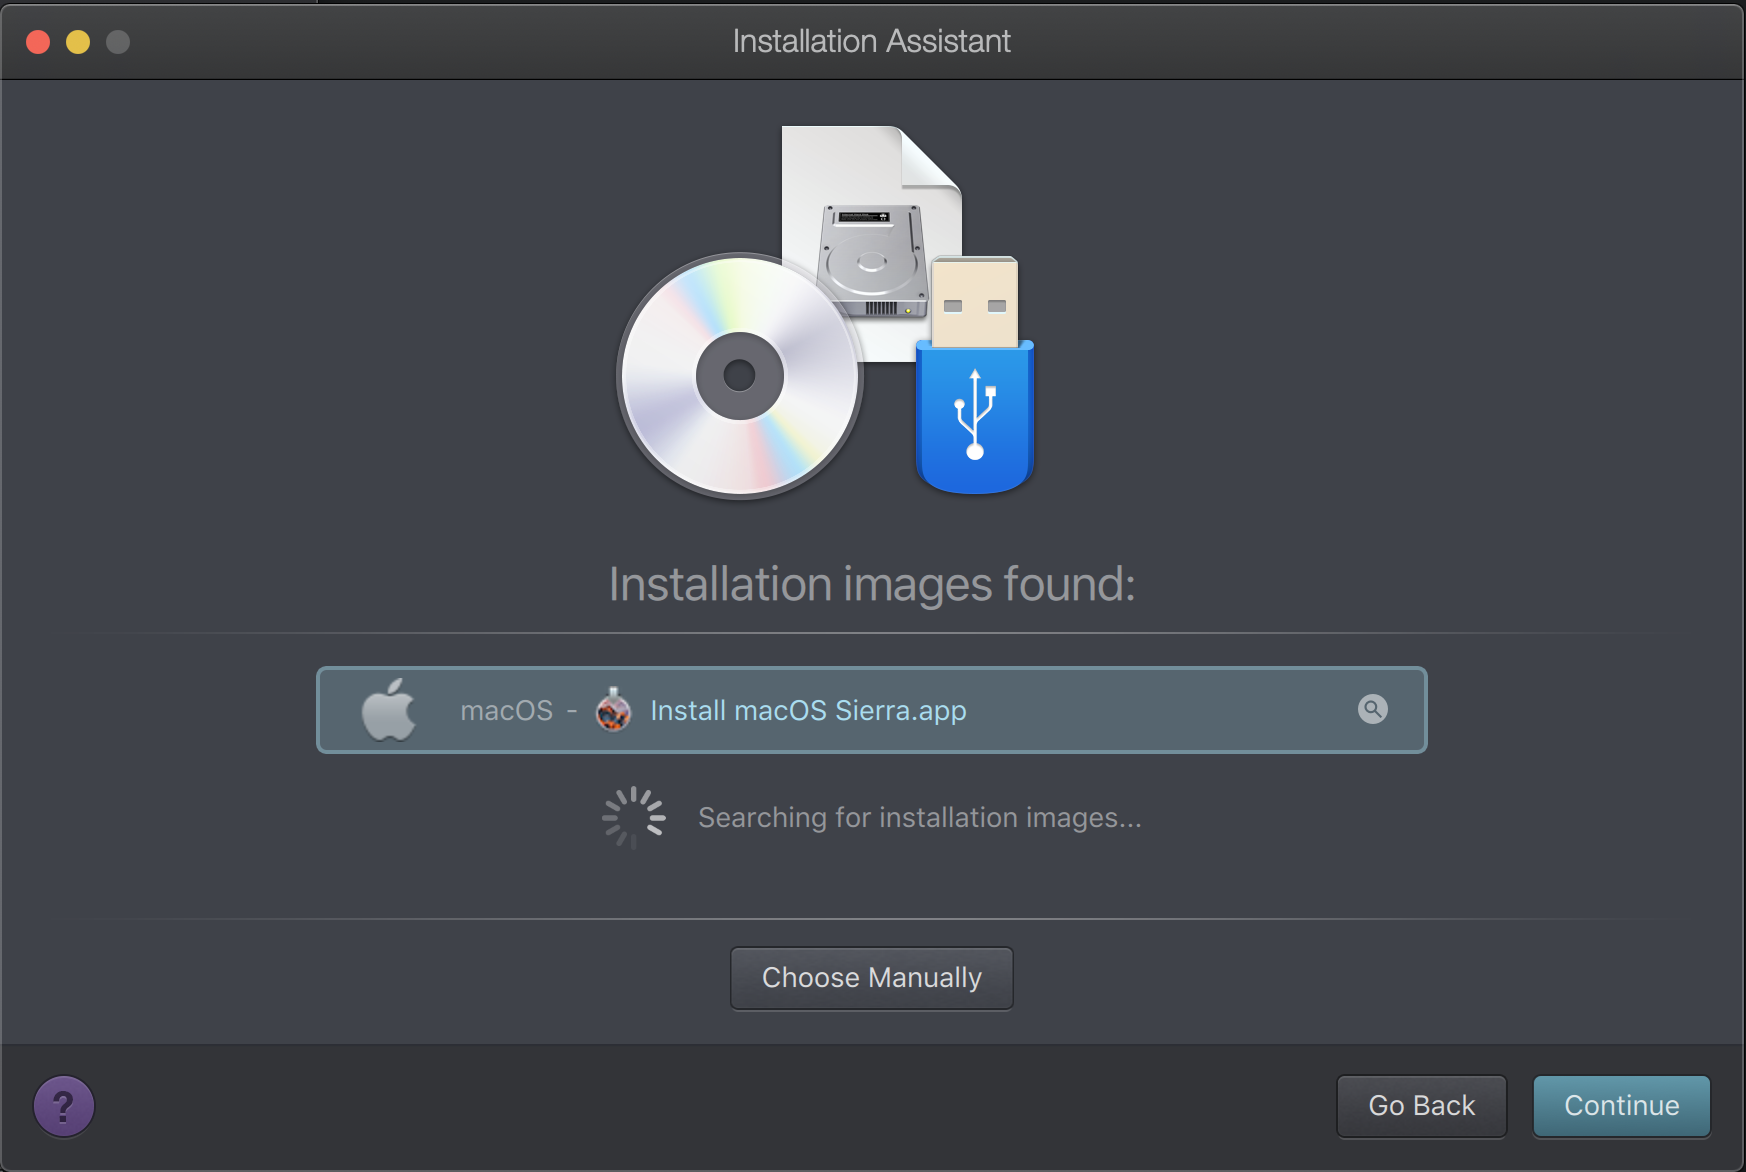
Now you create a new virtual machine all over again but this time you can choose the “Install Windows or another OS from a DVD or image file” and it will find the installer.

Parallels automatically recognizes the installer.

Now just go through the process of installing a Mac virtual machine.

Link your VM to the physical CD reader

Once I just made sure that the CD reader was linked to the Virtual Machine, I was able to copy my files to a folder and enjoy some old college memories of long forgotten documents.

Just bought a new MacBook Pro 16 inch and when I was trying to transfer files over from my previous Catalina MacBook Pro, I wanted to create a direct connection. There is a way to put your computer into Target disk mode if you have a thunderbolt 3 USB-C cable.

I held down the “T” key when I started up the old computer and then plugged in the Thunderbolt 3 USB-C cable.

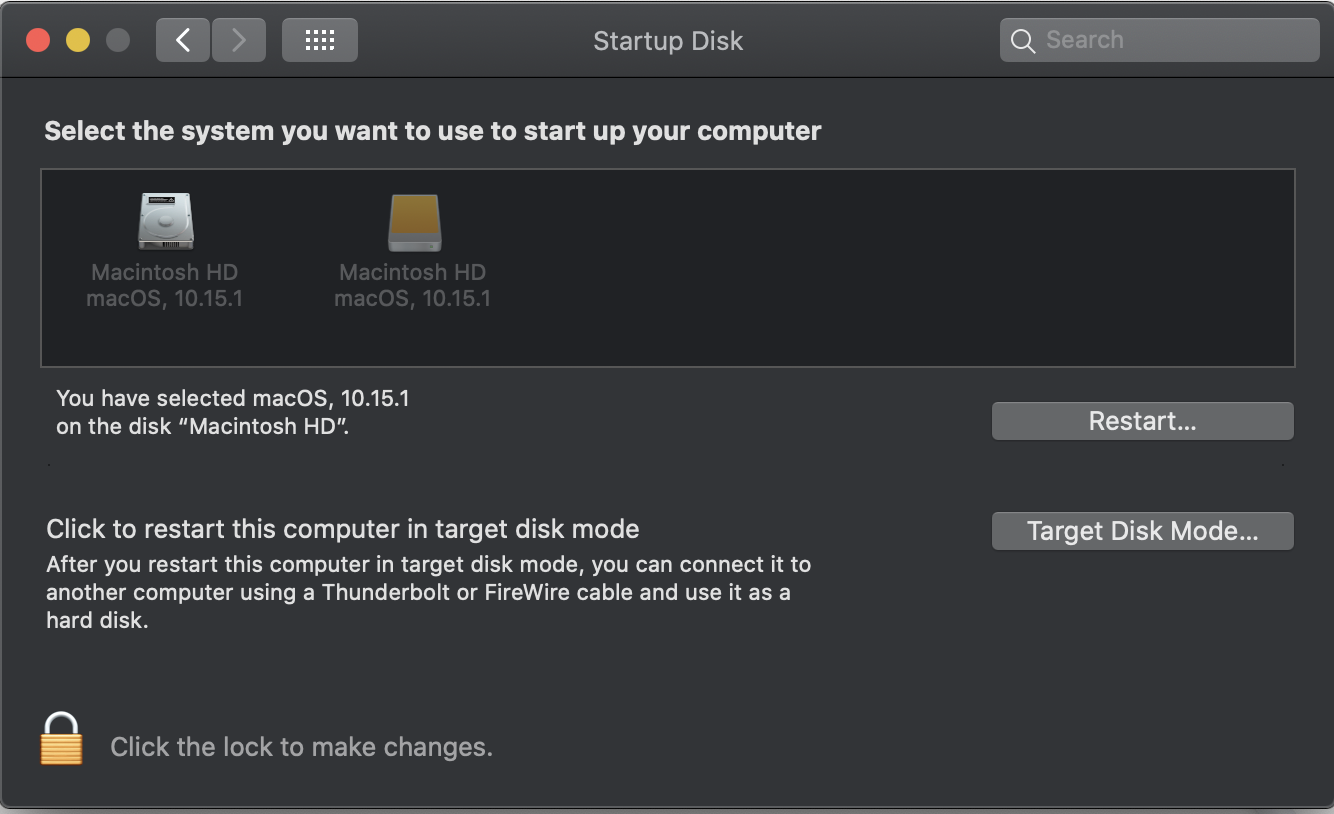
You can also use the startup disk control panel to enable this.

No Permission to access my Documents folder

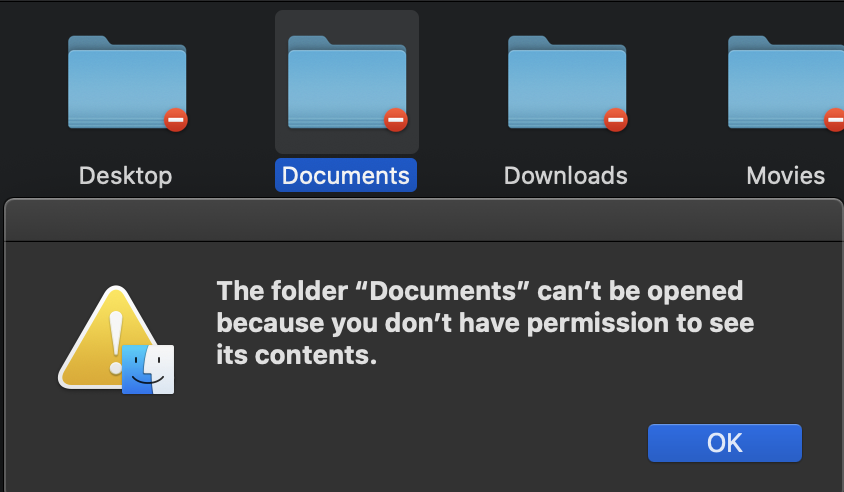
Though I was able to navigate to my home folder and documents folder on the other computer, I was denied access.

Tried reaching the internet for an answer but nothing came up so thought I would write this post on how to get yourself access to these folders.

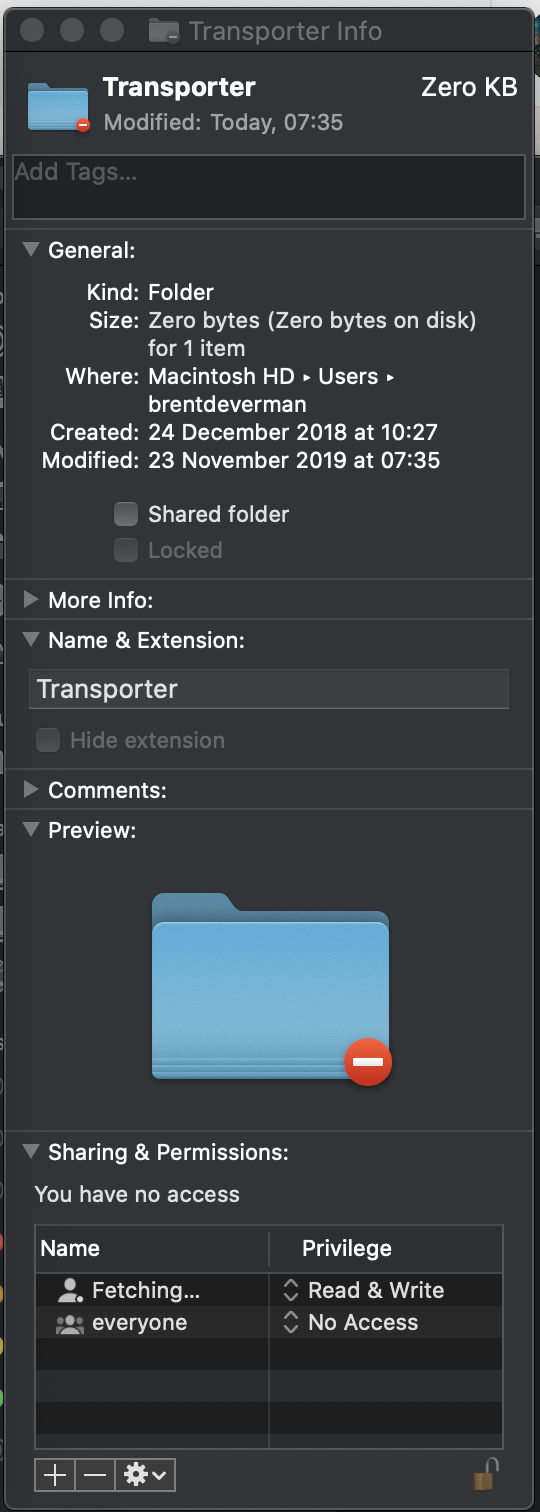
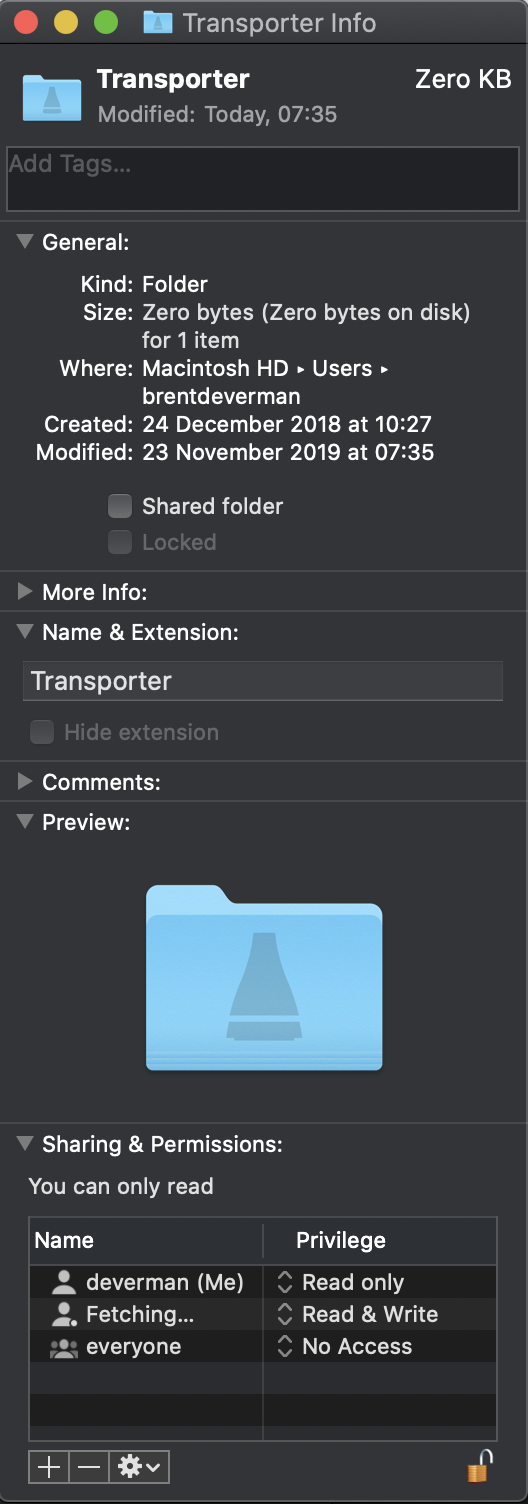
My first instinct was to use the Get Info command on the folder. When I did that the obvious thing was to change the “everyone” name access to “Read & Write”.

This didn’t work nothing changed. Wanted to jump to the command line to fix this but after going for a walk I realized I hadn’t tried clicking the the plus button below the Sharing and Permissions section.

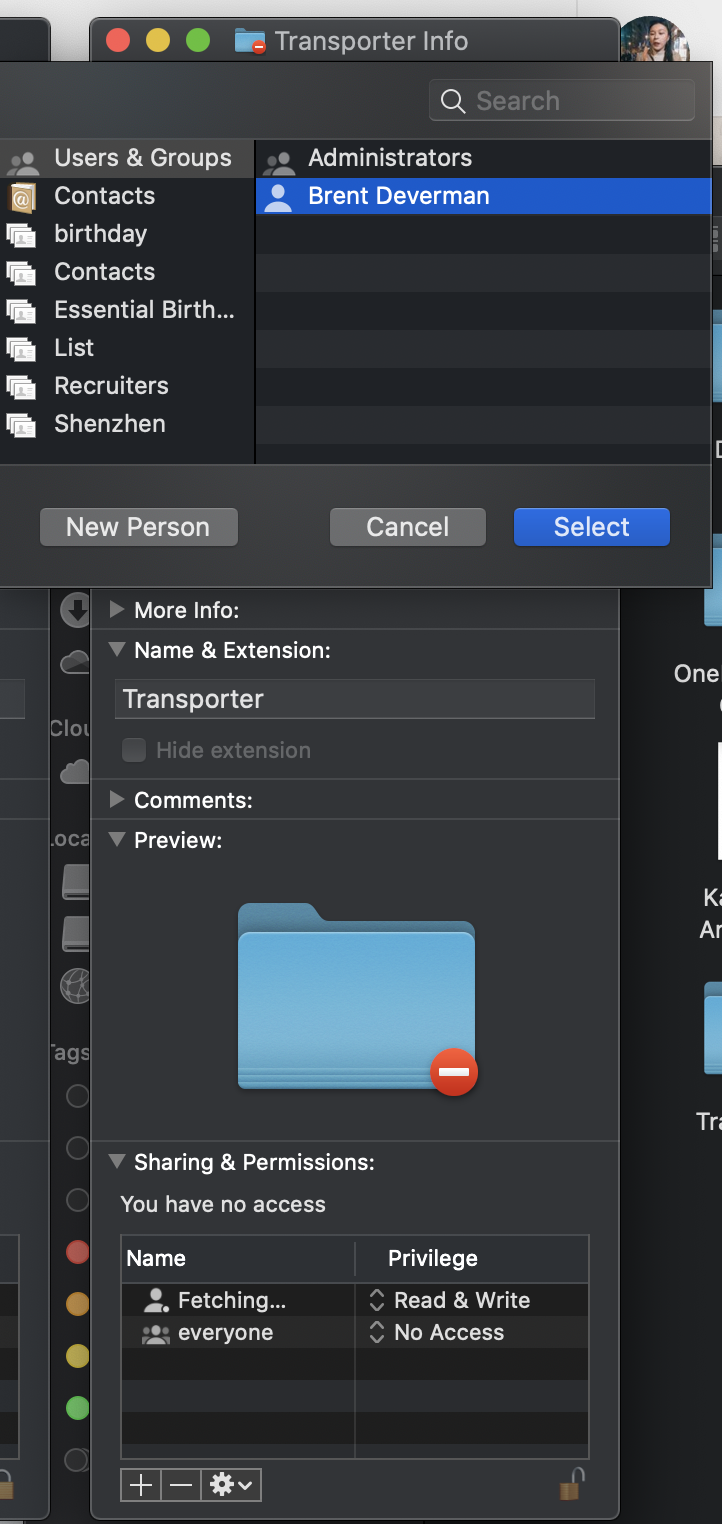
Once I authenticated as an admin user and then click the “+” button, a dialog box came up to ask me to assign a user.

Just select the user on your current computer. Another line will be created in the Sharing and Permissions section.

A new line will be created with your username of your computer and you can change the kind of access from read only to write access.

Now if you look at the screen shot above you will see the “Do Not Enter” visual is removed from the icon and if you double click on the folder you can open it no problem. Your access control lists (ACL) are all setup and you may copy any files you want.